A shoe rack can smell damp even after its shelves are wiped. Empty it, remove loose grit, and clean the rack according to its material. Let it dry before returning shoes, then check whether the odor actually comes from footwear, a mat, or moisture in the entryway.
Quick cleaning checklist
- Empty the rack without discarding personal belongings.
- Identify shelf and frame materials.
- Collect dry grit before wiping.
- Clean washable liners separately and dry them fully.
- Resolve recurring dampness before returning footwear.
Empty the rack and separate the problems
Take out shoes, insoles, loose liners, shoe-care products, and stored bags. Keep pairs together on a clean protective mat rather than spreading grit through the entryway. Do not assume the shoes and cabinet can be washed with the same product. Leather footwear, fabric sneakers, and a laminated shelf each have different limits.
Sort items by owner and condition without discarding anything automatically. A damaged insole or forgotten damp cloth may be the source of odor, but the owner should decide what to keep. Photograph an unfamiliar stain before treating it. If the cabinet contains insect activity, a leak, or extensive unexplained contamination, pause ordinary cleaning and identify the appropriate next step. An empty rack makes inspection possible without pretending every smell comes from the visible shelf.
Identify the rack’s material and finish
A shoe organizer may be solid wood, laminated board, painted metal, plastic, fabric, or a combination. Check the care instructions and exposed edges before introducing water. Laminated boards can have vulnerable seams, while metal frames may have coatings that do not tolerate abrasive scrubbing.
Inspect hinges, shelf supports, backing panels, and protective feet. Record swollen edges, peeling laminate, rust, loose fittings, and cracks as condition issues. Do not soak damaged board to remove a dark line. Similarly, avoid treating peeling paint as dirt that needs a stronger brush. If the rack is unstable, arrange repair before returning heavy shoes to it. A cleaning provider should understand which shelves can be removed and which supports are fixed, so the organizer is not weakened during a routine wipe.
Remove grit before wiping
Collect dry dust, sand, leaves, and loose debris with a suitable soft brush or vacuum attachment. Work from upper shelves downward so debris does not fall onto areas already cleaned. Pay attention to corners, beneath removable trays, and the lower edge near the floor.
Keep the tool appropriate to the finish and avoid dragging a rough nozzle across polished or coated surfaces. Do not push grit into hinge recesses or ventilation openings. If a tray is removable, lift it carefully onto a protected surface rather than tipping dirt onto the hallway. Dry-soil removal reduces scratching during the next stage and helps reveal which marks remain. Clean the surrounding floor afterward using its own approved method, without using the shoe-rack cloth to wipe kitchen counters or other unrelated surfaces.
Wipe shelves and handles with controlled moisture
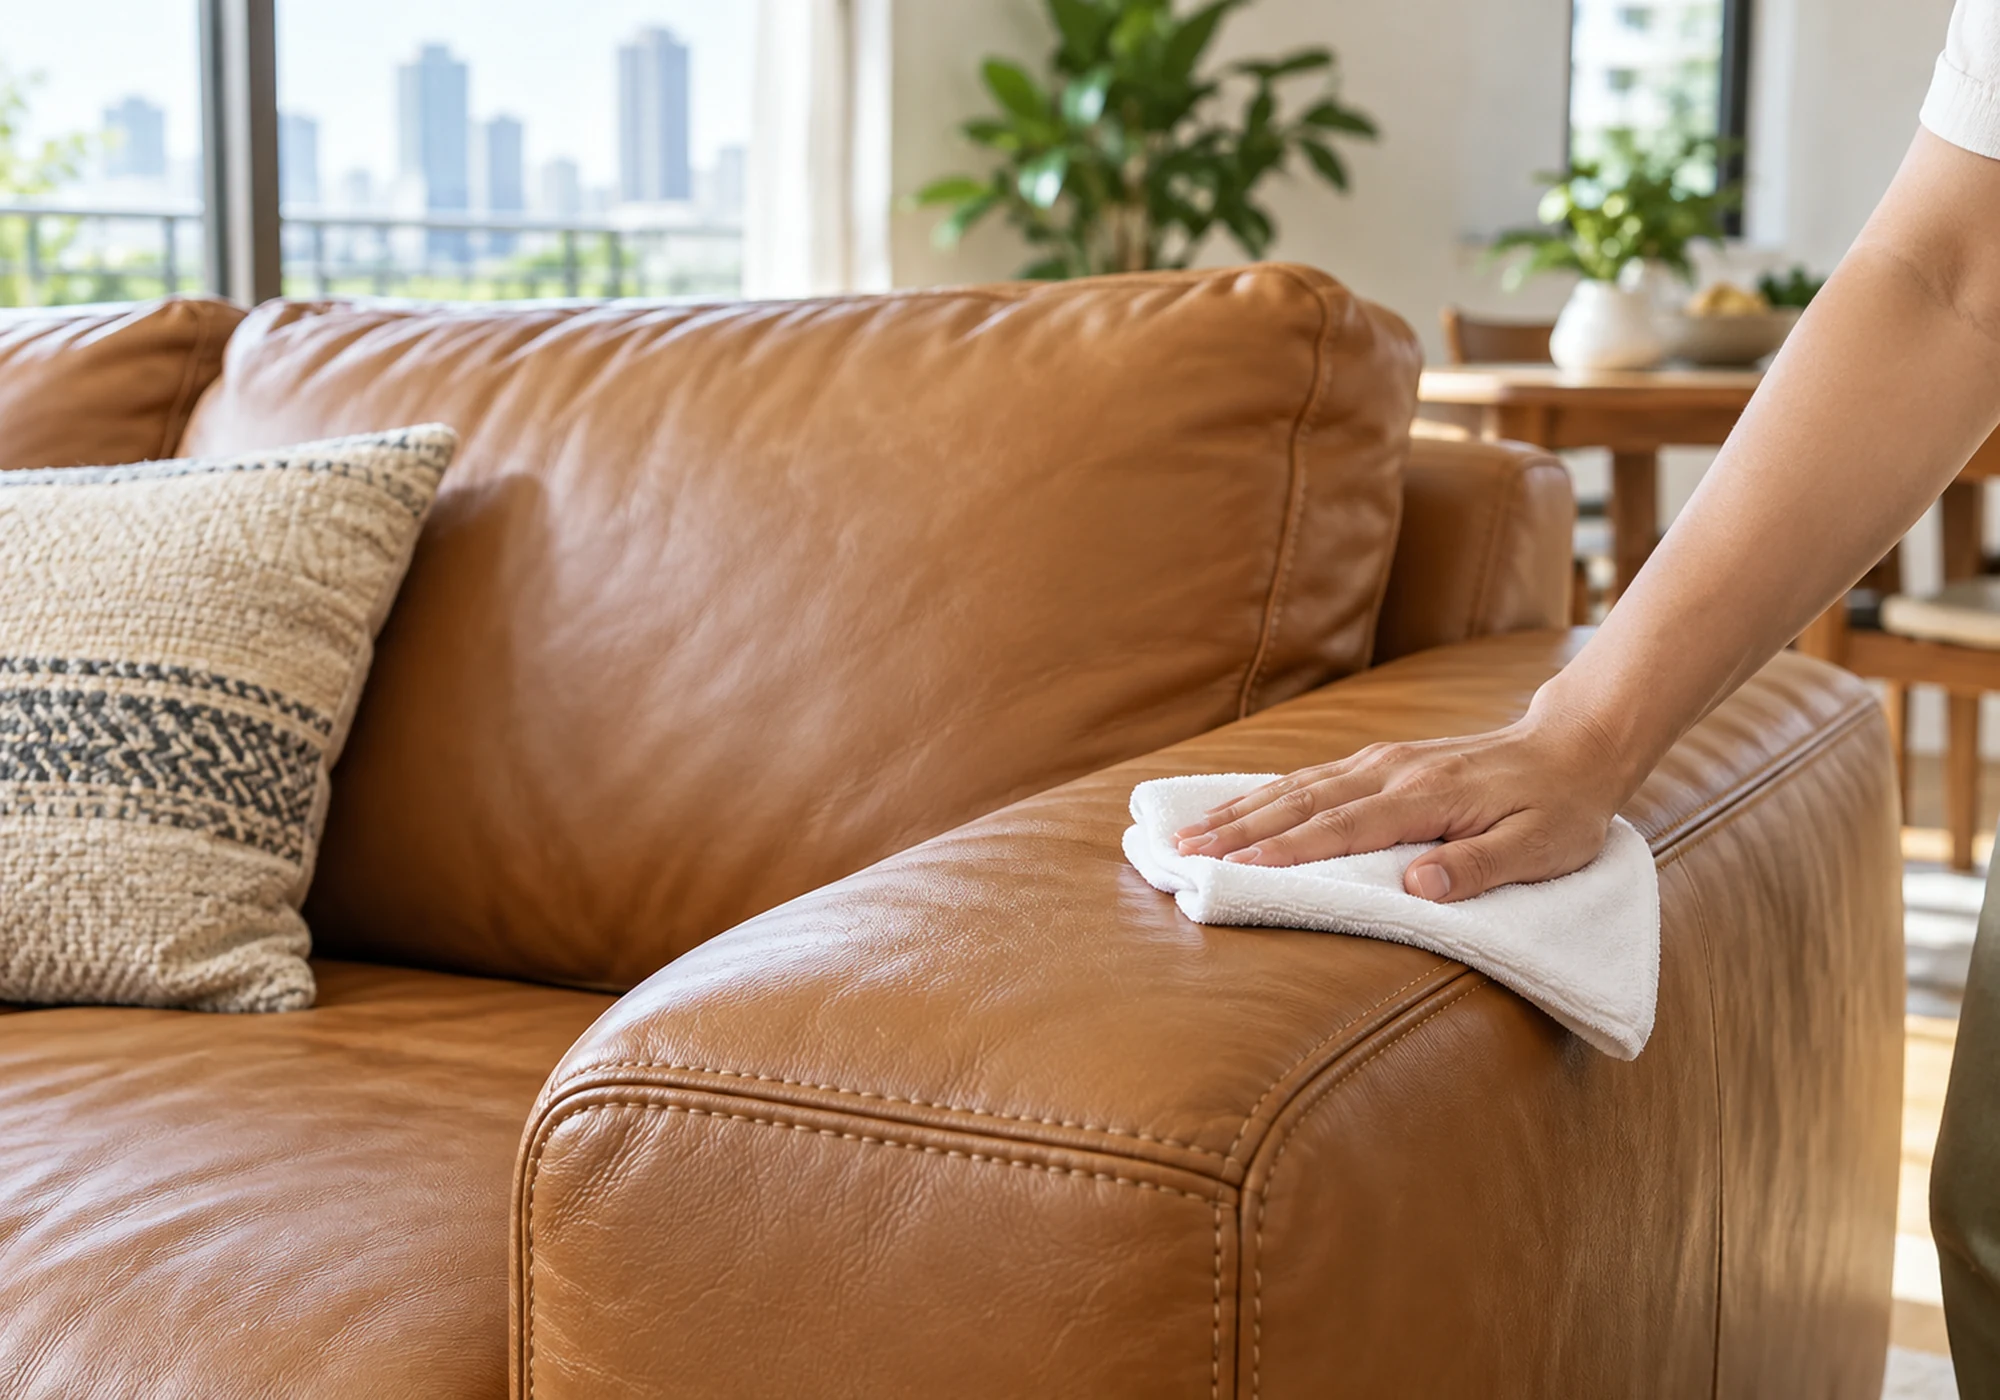
Use the product and method suitable for the rack’s finish. Where damp wiping is allowed, use a well-wrung cloth and work in manageable sections. Keep liquid from collecting in screw holes, board edges, and backing seams. Apply cleaner to the cloth when appropriate rather than spraying the inside of a narrow cabinet.
Follow the label’s product-removal instructions and dry the surfaces. Check handles and reachable door edges, which can collect hand soil even when shelves receive regular attention. Avoid rough pads used to erase scuffs from a painted finish; the mark may be wear. If a stain remains after approved cleaning, record it rather than introducing several chemicals. A dry, intact shelf is a more useful outcome than a temporarily glossy surface coated with fragrance or excessive furniture polish.
Clean removable trays and liners separately
Check whether trays and liners are washable and whether detergent is allowed. A plastic drip tray may have a different routine from a fabric organizer or cork insert. Follow each item’s instructions, including drying requirements. Keep loose grit out of the drain by removing it before washing.
Inspect for cracks, worn backing, or material that retains odor despite appropriate care. Ask the owner before replacing a liner. Do not cut an improvised absorbent sheet that blocks a ventilation opening or hides a damaged shelf. When reinstalling, make sure the tray sits flat and does not interfere with the door. A damp liner should not return simply because the cabinet looks empty. Give it a protected drying location and leave a note if another household member will finish reassembly later.
Find the source of recurring odor
After cleaning the empty rack, check whether odor remains in the furniture or returns with a particular pair of shoes. This is a practical observation, not a diagnosis. Footwear should be maintained according to its own care instructions, and damp items need appropriate drying before storage.
Check for a wet wall, floor leak, or condensation near the cabinet. If the furniture stays damp, address that source rather than adding scent sachets. Avoid mixing disinfectants or spraying every shoe with a household surface product. The site’s humidity and moisture guide can help frame the room-level issue. For ordinary shoe storage, leave only the items the rack is designed to hold and follow its placement guidance. Overpacking can make inspection and cleaning difficult even if the doors still close.
Return shoes only after the rack is ready
Check that shelves, liners, and removable trays are dry and correctly seated. Return clean, appropriately dry footwear without overloading shelves. Keep frequently used pairs easy to reach so people do not pull several shoes out over the floor each morning. Store shoe-care products in their original containers and away from children.
Pair this routine with the rainy-season entryway cleaning guide so wet umbrellas and muddy footwear do not immediately undo the work. However, do not use a damp entry mat as a permanent liner inside the cabinet. Keep the surrounding floor dry and passable. A small adjustment to how shoes arrive and leave can make the next clean easier without requiring a larger organizer or a collection of deodorizing products.
Specify shoe-rack cleaning in a home visit
When requesting home cleaning, state whether the rack will be emptied in advance. List the shelves, trays, handles, doors, and accessible underside separately. Explain the material, any unstable fittings, and the odor concern. Footwear washing and furniture repair should be separately agreed.
At the final review, inspect the empty surfaces before replacing every pair. Note stains, swollen edges, or a remaining moisture issue that cleaning cannot resolve. Confirm who returns belongings and who decides whether a worn liner is discarded. A clear handoff prevents a cleaner from throwing away personal items or hiding unresolved dampness behind neatly arranged shoes. Keep the routine simple enough for the household to repeat between appointments, especially during weeks of frequent rain.
A practical setup for a narrow condo entry
Suppose the rack sits beside the front door with little floor space. Plan a temporary sorting area that does not block the exit. Work one section at a time if the entire contents cannot be laid out safely. Keep wet footwear separate from dry pairs and from the cleaned trays awaiting reinstallation.
Once the cabinet is dry, return only the shoes that belong there and discuss other storage with their owners. Avoid moving clutter into the shared hallway. If a damp patch appears behind the backing panel, report it before pushing the rack into place. This sequence treats storage, surface cleaning, and building maintenance as related but separate needs. It produces a more durable improvement than masking the cabinet with scent while the same damp items go straight back inside.
Frequently Asked Questions
Can I donate shoes left in the rack?
Only with the owner’s permission and in line with the recipient’s acceptance rules.
Should a shoe cabinet be anchored?
Follow its installation and anti-tip instructions, especially around children.
Can I install a rack in a condo hallway?
Check building management rules before using a shared space.
Are replacement shelf supports interchangeable?
Use supports confirmed suitable for the cabinet and expected load.
Can a damaged cabinet go into ordinary collection?
Check local bulky-waste arrangements and any building disposal rules.