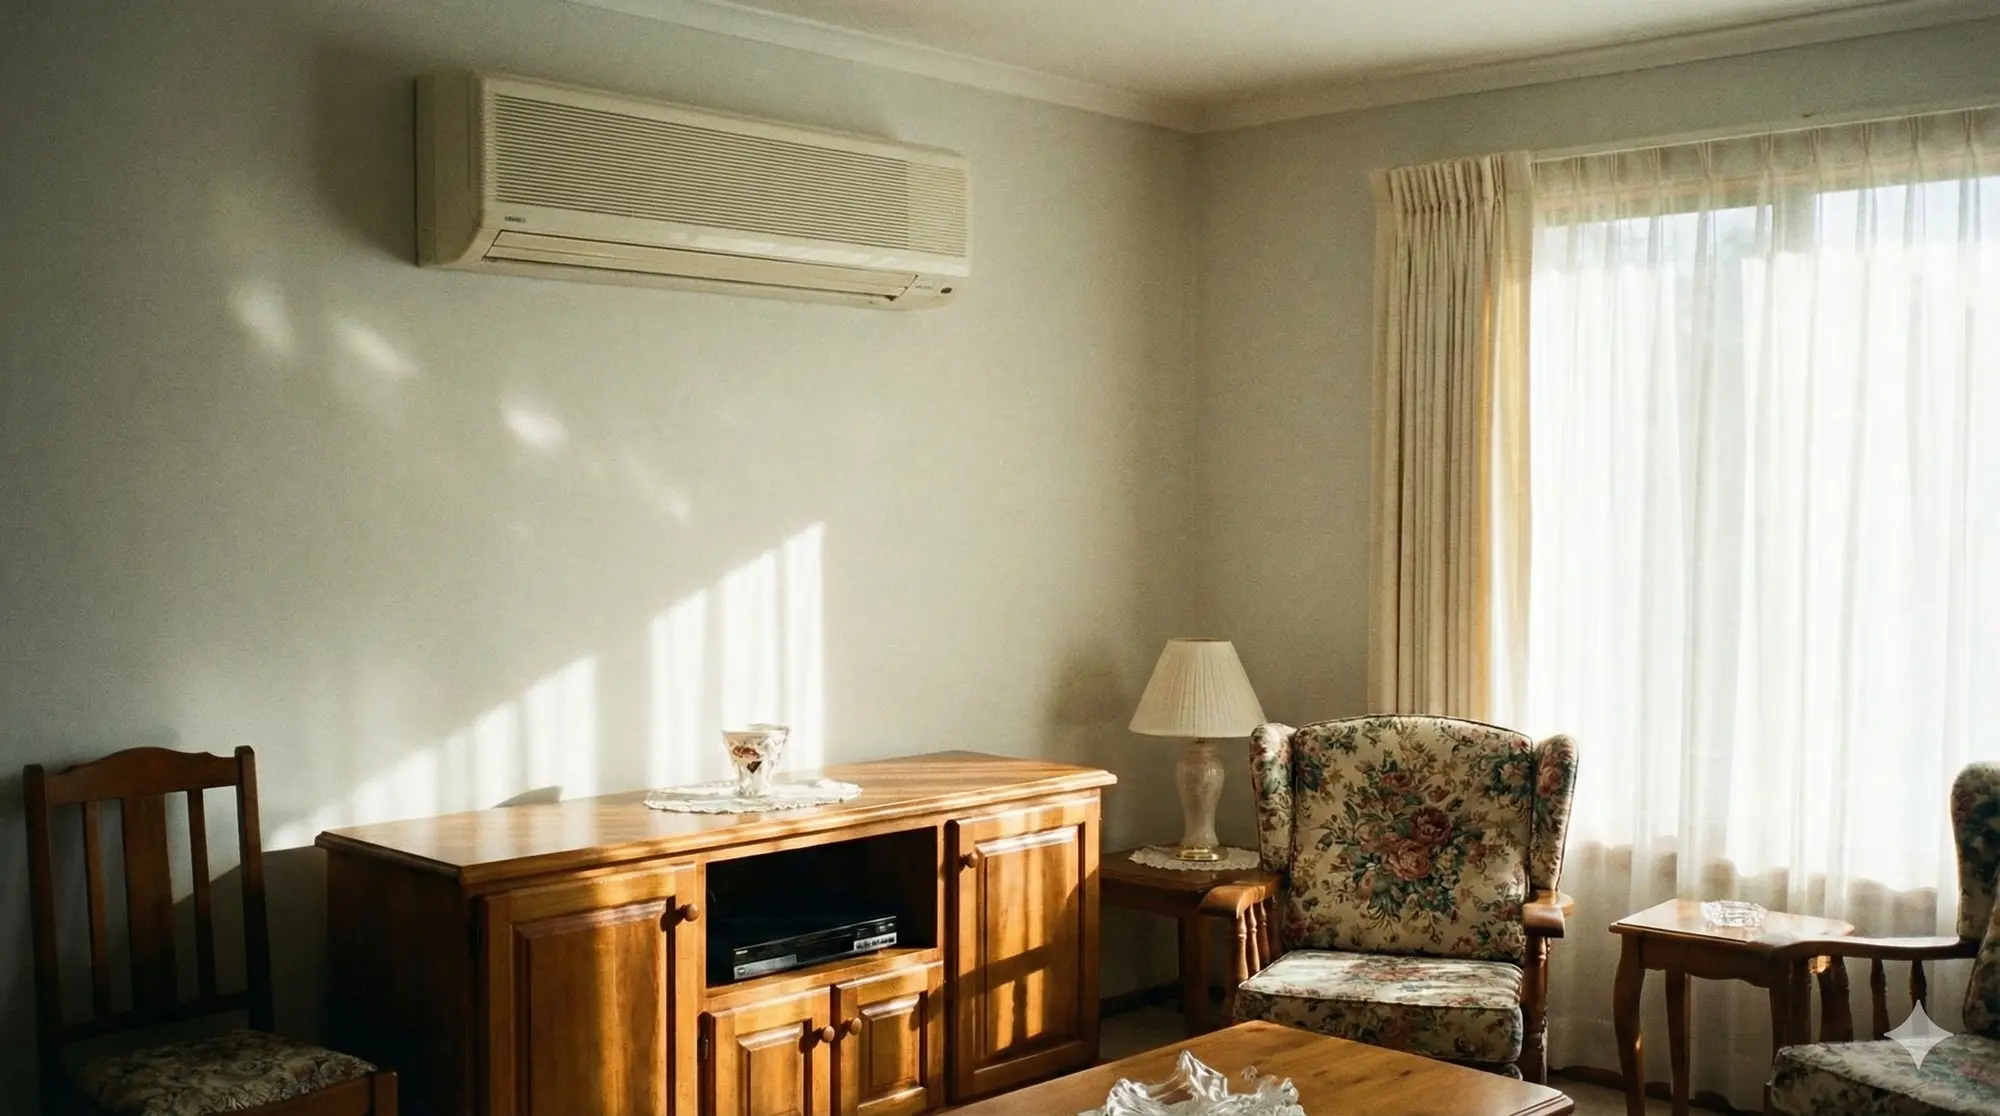
To clean painted walls, identify the paint finish, remove loose dust, and test a gentle method in a discreet spot. Use minimal moisture and pressure, following the paint maker’s instructions. Let the test dry before judging it, and stop if color transfers or the sheen changes.
Smudges near a light switch can make an otherwise tidy room look tired. Meanwhile, a suitcase scrape or chair mark can tempt you to scrub harder until the wall looks uniform. However, paint is a finish with its own limits. Excess friction may create a shiny patch that stands out more than the original mark.
Wall cleaning is a specific task within a larger home routine. The site’s room-by-room cleaning scope guide can help you identify which walls and reachable areas to include. A request to clean a room does not automatically define full wall washing.
Find out what is on the wall
Look for the paint brand, product name, sheen, and application date in your renovation records. Matte, eggshell, satin, and gloss describe appearance, but performance also depends on the actual product. A modern washable matte paint may behave differently from an older flat finish in the next room.
Freshly applied paint needs the manufacturer’s specified curing period before washing. Dry to the touch and ready for cleaning are different stages. If the wall was recently painted, ask the contractor for the exact care instructions instead of assuming that a few dry days make it washable.
Check for wallpaper, decorative plaster, textured coatings, and specialty paint. These surfaces should not inherit a routine intended for standard painted drywall or plaster. Also note mixed finishes around trims, built-in shelves, and doors. One wall may include several materials with different moisture limits.
If the finish cannot be identified, keep the first step conservative. Remove loose dust gently and seek guidance before treating an obvious stain. An uncertain wall is not a useful place to test a collection of online cleaning tricks.
Is the mark dirt, wear, or a wall problem?
Observe the pattern before choosing a product. Finger smudges near switches, a splash beside a sink, and a dark line behind a chair suggest different sources. A damp spreading patch, bubbling paint, or crumbling surface calls for a building or repair assessment before ordinary cleaning.
Do not keep wetting a stain that returns after the wall dries. Record its location and whether rain, plumbing use, or room conditions affect it. In a condo, share relevant observations with the responsible owner or building manager. Cleaning the visible patch will not resolve a leak inside the wall.
Likewise, a scratch may have removed paint rather than deposited dirt. If the wall color is missing or the substrate is visible, washing will not replace that coating. Distinguishing a deposit from a damaged finish helps you choose between cleaning and a paint repair discussion.
| What you see | What to check | Sensible response |
|---|---|---|
| Light hand smudge | Paint care directions and finish condition | Try an approved gentle test |
| Chair scuff | Surface deposit versus missing paint | Clean cautiously or request touch-up advice |
| Damp or bubbling patch | Water source and wall condition | Investigate the cause before cleaning |
| Existing shiny patch | Prior rubbing or finish variation | Avoid repeated scrubbing |
| Textured or decorative coating | Specialist maintenance directions | Follow the specific finish guidance |
Prepare the room before touching the paint
Move small objects away from the working area and protect the floor from accidental drips. Keep a dry cloth available and use a stable position that does not require overreaching. Do not climb on a sofa arm, rolling office chair, or kitchen countertop to reach a high mark.
Leave switches, outlets, and electrical fittings dry. Avoid spraying a wall around them or removing covers as part of general cleaning. If the job involves unusual access or electrical concerns, arrange suitable help rather than expanding the task yourself.
Check the cloth or soft tool for trapped grit. A cloth recently used on a balcony track can carry particles capable of marking paint. Use a dedicated clean tool and fold it to present fresh surfaces as it collects dust.
For a booked visit, identify walls with valuable art or fragile mounted pieces. Agree on who may move them. Keep picture hooks, adhesives, and wall decorations in place unless their removal is specifically authorized and suitable for the finish.
Remove loose dust gently
Start with the manufacturer’s permitted dry dusting method. Use light contact and work in manageable sections. Catch dust without repeatedly sweeping it into the room. If a tool drags, catches the texture, or leaves a visible mark, stop and reassess it.
Pay attention to the wall’s upper edge, reachable corners, and the area above baseboards. These locations can hold loose dust that becomes a muddy streak when damp cleaning begins. Nevertheless, reach only what can be accessed safely from the planned working position.
Do not use vigorous circular polishing to make a wall look brighter. The purpose of dry maintenance is to collect loose material. A finish can change under repeated rubbing even before a cleaner is introduced.
If an area contains extensive growth, contaminated dust, or signs of significant water damage, keep it outside ordinary wall dusting. Explain the condition when seeking assessment. The site’s condo moisture and mold prevention guide discusses why the moisture source needs attention.
How do you test a painted wall safely?
Choose a discreet area that represents the same paint and condition as the mark. Follow the paint maker’s cleaning instructions with the recommended soft tool and solution. Wring the cloth appropriately so you control moisture, and apply light pressure rather than soaking the surface.
Let the test dry fully before deciding whether to continue. Wet paint can look temporarily darker or glossier, so judging it immediately can lead to unnecessary additional cleaning. Compare the dry test from more than one angle under normal room lighting.
Look for transferred color on a white cloth, a new shiny patch, softened paint, or a visible tide line. Any of these changes is a reason to pause. Do not assume that a different stronger product will undo what the first test changed.
Record the tested method for the rest of the household. A short note such as approved soft cloth and specified dilution is more useful than saying the wall is washable. Include any areas that should remain untouched because the result was uncertain.
Clean smudges with the least necessary intervention
When testing supports it, work gently on the affected area using the approved method. Keep the surrounding surface under observation and change to a clean cloth section as soil lifts. Avoid spreading dirty water into a large halo around a small mark.
Follow any rinsing directions and remove excess moisture promptly with the permitted technique. Do not leave solution running toward baseboards, trim joints, or electrical fittings. Where several adjacent marks need attention, ask whether a broader professional method is appropriate before creating multiple spot-cleaned patches.
Use particular care with abrasive sponges, powders, stiff brushes, and products marketed as erasers. Their cleaning action may involve abrasion. A successful result on tile does not establish compatibility with paint, especially a delicate or low-sheen finish.
For greasy marks, ink, adhesive residue, and children’s drawing materials, give the paint maker or specialist the exact substance if known. Keep solvents and strong degreasers out of an improvised trial. The risk is not only spreading the stain; it is changing the coating around it.
When should cleaning stop?
Stop once an approved method reaches its reasonable limit. A faint remaining mark may be preferable to obvious finish damage. Take a photo after drying and decide whether the result is acceptable in the room’s usual lighting and viewing position.
If touch-up work is needed, ask a painter about matching the product, color, sheen, and application texture. An old painted wall may have changed through use and exposure. A small dab from a similar-looking paint can create a visible patch even when the color name appears correct.
Do not blend cleaning and painting into an undefined service request. Cleaning removes suitable surface soil; paint repair changes or renews the coating. Keep the scope, products, approval, and responsibility clear for each task.
For a rental, document existing marks before deciding on repairs. Discuss the proposed action with the appropriate owner or manager. Avoid making assumptions about deposit deductions or tenant obligations from a cleaning guide; the applicable agreement needs its own review.
Build wall care into everyday use
Observe the contact zones during routine room cleaning. The area around a dining chair, children’s desk, or narrow hallway may need attention more often than a wall behind a bed. Focus on the source of repeated contact rather than regularly washing every wall.
Give chairs enough clearance where practical, keep damp items away from paint, and address spills promptly according to the care instructions. If you add a protective accessory, check that it will not trap moisture, damage the coating, or require an adhesive the paint maker discourages.
In a busy condo, narrow circulation paths make scuffs easy to repeat. Consider whether a suitcase landing area or furniture adjustment would reduce contact. These layout changes can support cleaning without turning the home into a permanent renovation project.
Keep the cleaning record with your paint information. When the wall is eventually repainted, ask the contractor for a maintenance guide and clearly label retained paint. A few accurate details now can prevent uncertainty during the next cleaning visit.
Request wall cleaning as a defined task
When contacting home cleaning services, describe the finish, number of affected areas, height, and type of marks. Send one room photo and close views. Ask which reachable wall tasks can be included and whether testing is part of the assessment.
For a larger reset, use the site’s residential deep cleaning page to start the conversation, then specify wall care separately. Confirm whether full wall washing, spot treatment, or only gentle dusting is proposed. Avoid treating the service label as a complete work description.
A useful acceptance note might read: light hand smudges beside the living-room switch, intact documented washable paint, discreet test first, no work on the damp corner. This gives the provider a practical task and a clear stopping point.
Check the finished area after it dries. Look from the usual entrance and seating position, record any remaining mark, and discuss it using the agreed scope. Consistent observations produce a better follow-up conversation than asking for an undefined spotless wall at any cost.
Keep a wall-mark record during a larger clean
When several rooms need attention, number the affected spots on a simple room list. Describe each in plain language, such as hand smudge by the door or scrape behind the dining chair. Add a photo and the proposed response. This reduces the chance that someone treats every mark with the same product.
Separate completed cleaning, unresolved marks, and repairs awaiting approval. The list can remain short; its purpose is to preserve decisions while people move between rooms. Review it after drying, when temporary wet patches have disappeared and the finish can be assessed fairly.
If one approved method works on a particular wall, keep that information specific to that finish. A neighboring wall with another paint product still needs its own assessment. Consistency should come from accurate records rather than assuming that all painted surfaces in the home are identical.
Frequently Asked Questions
Can framed artwork protect a wall from fading evenly?
Covered and exposed sections can age differently, depending on light, paint, and conditions. Moving artwork may reveal a color difference. Ask a painter about appearance changes before assuming the newly exposed outline is removable dirt.
Should I photograph a paint can’s tint label?
Yes. Save the product name, base, color formula, sheen, and purchase date if shown. Keep the image with the room name. A color nickname alone may not give a future painter enough information to investigate a match.
How should I store leftover paint after a room is repainted?
Follow the exact paint product’s storage and closure directions, keeping its label and tint information readable. Choose a suitable secure location away from food and children. Ask the manufacturer or appropriate local waste service about damaged containers or unwanted paint rather than inventing a storage or disposal method.