The Philippines is defined by its resilience, especially when facing the fury of the rainy season. From the monsoon rains that bring annual “habagat” to the destructive typhoons, many Filipino families in flood-prone areas, from Metro Manila to Pampanga, are unfortunately familiar with the aftermath of “baha” (flooding).
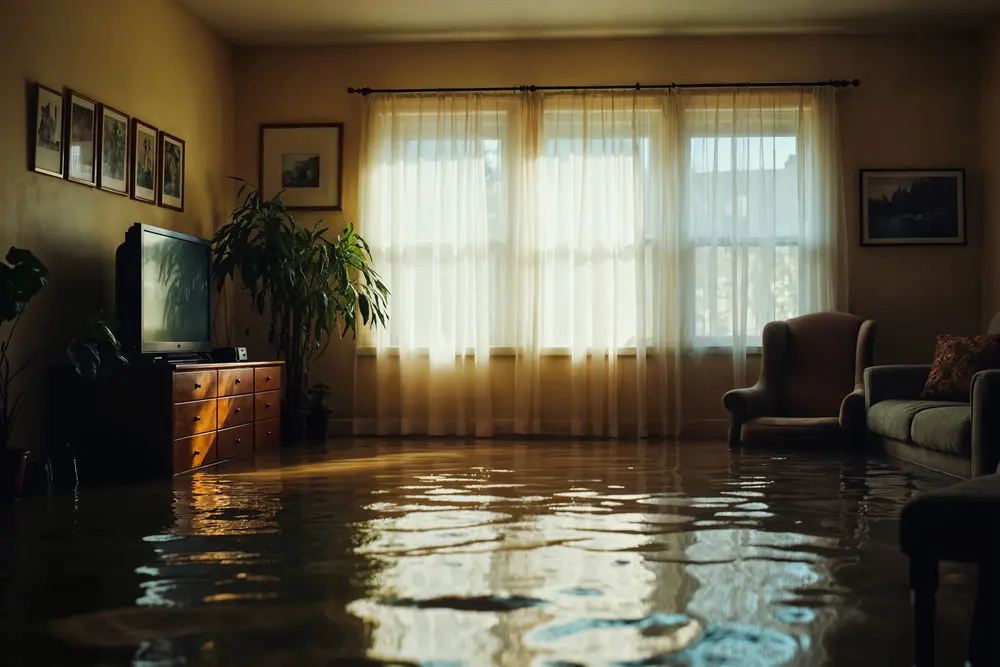
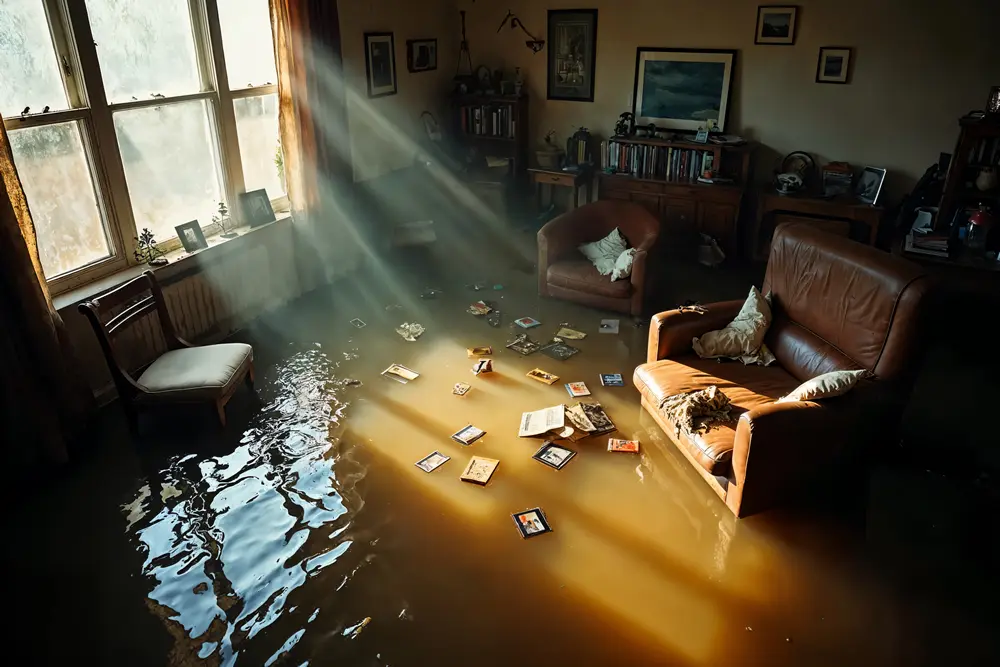
When floodwaters recede, they leave behind more than just mud and debris. They leave a potent cocktail of contaminants: sewage, chemical runoff, bacteria, and hidden moisture that quickly breeds mold and mildew. The clean-up is not just about aesthetics; it is about protecting your family’s health and preserving the structural integrity of your home.
This “Post-Baha Protocol” provides the 7 most crucial steps, from immediate safety checks to specialized sanitation, that must be followed after the floodwaters are gone. While many steps can be done by homeowners, we position professional cleaning as the safest and most effective path to a truly sanitized environment.
The Critical First Step: Safety First (Before You Step Inside)
Before you even think about cleaning, your safety, and the safety of your family, is paramount. Floodwaters carry numerous unseen dangers.
1. Electrical Hazards: The Golden Rule
Do not enter a flooded area until the main power has been shut off.
Even after the water has receded, wiring, outlets, and electrical appliances may still be wet or damaged, posing a severe electrocution risk. Contact your utility provider (like Meralco) or a certified electrician immediately to inspect your home’s electrical system before you restore power. Any submerged appliances or power strips must be safely discarded or professionally inspected.
2. Structural Integrity and Hidden Pests
Be wary of unstable ceilings, cracked walls, and damaged foundations. When moving furniture or clearing debris, watch out for displaced wildlife, including snakes, rats, and insects that may have sought refuge inside your home.
3. Personal Protective Equipment (PPE) is Non-Negotiable
Floodwater is highly contaminated (Category 3 Water, or “Black Water”). Protect your skin, eyes, and lungs.
- Gloves: Heavy-duty rubber or utility gloves.
- Boots: Waterproof rubber boots (not sneakers) that reach up to the knee.
- Mask: An N95 mask or a respirator is essential. Regular cloth masks are not sufficient to filter out mold spores and harmful dust particles stirred up during cleaning.
7 Crucial Steps to Deep Clean and Sanitize Your Home
Once the area is safe, you can begin the critical process of recovery. This protocol must be followed methodically, prioritizing removal and drying before final sanitation.
Step 1: Drain, Ventilate, and Clear the Damage
Your first objective is to remove all standing water, open up the space, and get rid of items that cannot be saved.
A. Water and Mud Removal
Use buckets, pumps, or wet-dry vacuum cleaners to remove all standing water. The quicker you drain the water, the less time the moisture has to soak into materials. Once the standing water is gone, use squeegees, shovels, and rakes to scrape and remove as much mud and silt as possible from floors and hard surfaces.
B. Immediate Ventilation
Humidity is your enemy. Open all windows and doors to allow fresh air to circulate. If the outside air is drier than the inside, use fans (oscillating or box fans) pointed towards the open windows to force the humid air out. If available, dehumidifiers should be brought in immediately to help draw moisture out of the air and porous materials. This battle against moisture begins now and is crucial for preventing mold.
C. Salvage and Discard
It’s heartbreaking, but often necessary:
- Discard Porous Materials: Any porous material that was soaked for more than 48 hours is extremely difficult to sanitize and is a breeding ground for mold and bacteria. This includes carpets, rugs, insulation, mattresses, pillows, and most particleboard furniture. When in doubt, throw it out.
- Clean Non-Porous Items: Hard plastics, metal, solid wood furniture, and glass can often be saved, provided they are scrubbed and sanitized thoroughly (see Step 4).
Step 2: The Mold Clock is Ticking (48-Hour Window)
Mold can begin growing within 24 to 48 hours of water exposure. This makes the immediate drying process the most important thing you can do to protect your home.
Focus on Hidden Moisture: Walls and Cabinets
Water wicks up walls (a phenomenon called capillary action), often getting trapped behind baseboards and sheetrock.
- Remove Baseboards: Carefully pry off the baseboards to expose the bottom of the wall. This allows air to reach the bottom edge of the wall material and prevents hidden mold growth.
- Drill Inspection Holes: In severe cases where water may be trapped inside the wall cavity, small holes may need to be drilled near the base of the wall to allow trapped water to drain and air to circulate inside the cavity.
- Open Cabinets: Open all drawers, cabinet doors, and closet doors to allow air to circulate freely.
Why Professionals Prioritize Drying: Our expert teams use industrial-grade air movers and powerful dehumidifiers that far surpass standard household equipment. This specialized equipment is crucial for achieving the low moisture content needed to halt mold growth in structural materials.
Step 3: Strip and Initial Scrub of Hard Surfaces
Now that the room is cleared and ventilated, the deep cleaning begins. You must remove the visible contamination before you sanitize.
Floors and Walls
Use a sturdy brush, a mop, and a mild detergent solution to scrub all hard surfaces, including floors, concrete slabs, tiles, and non-porous walls. The goal here is to remove the sludge and visible dirt left behind by the floodwaters.
- Work from Top to Bottom: Start scrubbing the walls at the highest point of flood damage and work your way down to the floor. This ensures that dirty runoff is cleaned up as you go.
- Ceilings: Even if the floodwaters didn’t reach the ceiling, the high humidity can cause mold growth there. Inspect ceilings for signs of water damage (stains, sagging) and wipe them down.
Wood and Furniture
Wash hard furniture (solid wood, plastic, metal) outdoors or in a well-ventilated area using soap and clean water. Remove drawers and cushions to ensure all cavities are cleaned and dried separately.
Step 4: The Core of the Protocol – Disinfection and Sanitation
The visible dirt is gone, but the biological contamination remains. This is where you move from “cleaning” to “sanitizing.”
Disinfecting Solutions
Standard household bleach is an effective, affordable disinfectant for non-porous surfaces, provided it is used correctly and safely.
- Bleach Solution: Mix one cup of chlorine bleach with five gallons of water. Never mix bleach with ammonia or any acidic cleaner, as this creates highly toxic, dangerous fumes.
- Application: Apply the solution to all washed surfaces (floors, tiles, non-porous walls). Allow the solution to sit for at least 10-15 minutes to ensure it kills bacteria and viruses.
- Rinse and Dry: Rinse the surfaces thoroughly with clean, potable water. Rinse water should be clean and not from flood sources.
The Need for Specialized Disinfectants
While bleach is good for floors, it is damaging to many materials. Professional cleaning services utilize specialized, hospital-grade, non-corrosive disinfectants that are effective against a broader spectrum of pathogens and mold spores without damaging finishes, wood, or fabrics. This deep-level sanitation is the hallmark of a truly safe post-baha clean.
Step 5: Handling Soft Furnishings and Fabrics
Most upholstered furniture and clothing that have been submerged should be discarded. However, if items are salvageable, they require extreme care.
Laundering
Wash all contaminated clothing and linens in hot water (at least $130^\circ \text{F}$) for extended cycles. If possible, add a disinfectant additive designed for laundry.
Salvaging Upholstery
If your solid wood sofa frame is fine but the cushions were submerged, discard the foam and have the fabric professionally reupholstered or cleaned. If only the bottom of a piece was wet, consider having it professionally cleaned using specialized extraction equipment and anti-microbial treatments to prevent mold growth deep within the fibers.
Warning: Do not rely on simple air drying for submerged fabric or foam. It is nearly impossible for household tools to dry these items completely, which guarantees mold growth later.
Step 6: Addressing and Preventing Mold (The Long-Term Threat)
If you see black, green, or white patches, mold is already established. This requires targeted remediation.
Small Mold Areas (Homeowner Management)
For small, isolated patches of mold on hard surfaces (less than 1 square meter), you can attempt removal using a detergent solution and a stiff brush, followed by the bleach sanitizing solution (Step 4). Crucially, you must keep the area wet during scrubbing to prevent releasing a cloud of spores into the air.
When to Call an Expert
If mold growth is extensive, if it is hidden inside walls, or if you suspect it’s on porous materials like drywall or insulation, stop immediately and call a professional.
- Safety: Mold remediation requires specialized PPE, including respirators and containment sheeting, to prevent cross-contamination to other areas of the house.
- Specialized Treatments: Professionals use EPA-approved anti-fungal and anti-microbial coatings that penetrate materials to kill the root of the mold and inhibit future growth.
- Removal: Moldy drywall or insulation must be carefully removed, bagged, and disposed of according to strict safety protocols. Simply spraying the surface will not work; the source must be removed.
Step 7: Final Drying and Restoration
Once the cleaning and sanitation are complete, the final phase is ensuring the entire structure is bone-dry before you start replacing materials. This can take several days or even weeks.
Monitoring Moisture Levels
You should aim for moisture content in structural wood and drywall to be below 20%. A professional team will use moisture meters to accurately assess when the materials are truly dry and safe to rebuild. If you rush the restoration process and seal in moisture, you are guaranteeing future mold issues.
Final Dust and Odor Removal
After weeks of drying and reconstruction, there will be lingering dust and often a musty odor.
- HEPA Vacuuming: Use a vacuum equipped with a HEPA filter to capture the fine dust and mold spores that have settled on surfaces.
- Odor Neutralization: Professional services can employ air scrubbers and ozone generators (used with extreme caution and only by experts) to chemically neutralize mold odors and mustiness.
Why Choose Professional Post-Baha Cleaning? (The Service Hook)
Dealing with the aftermath of baha is physically draining, emotionally stressful, and technically complex. As the premier cleaning service in the Philippines, Cleaningservices.ph is uniquely equipped to handle the dangers and complexities of post-flood restoration.
We are not just a cleaning service; we are a remediation partner:
- Safety First: Our teams arrive with full PPE, are trained in electrical and structural safety protocols, and use hospital-grade disinfectants safely.
- Industrial Drying Equipment: We bring commercial-grade air movers and dehumidifiers necessary to meet the 48-hour mold deadline, protecting your home’s structure.
- Complete Sanitation: We use specialized, anti-microbial treatments that standard bleach cannot match, guaranteeing the removal of pathogens and prevention of future mold.
- Stress Relief: We allow your family to focus on recovery and returning to normalcy, knowing that the structural integrity and health of your home are handled by certified professionals.
Don’t risk your family’s health on a half-completed cleaning job. When the floodwaters retreat, trust Cleaningservices.ph to fully restore and sanitize your home. Contact us today for an emergency assessment and to activate your Post-Baha Protocol clean-up plan.